

News
- Floating Toolbar in Table View using CSSA feature of our AppGini Helper Javascript Library that has been available for a long time is additional buttons in …
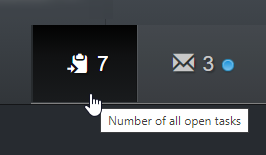
- Tip: Put unimportant things in the backgroundA great feature are the so-called badges, which show the number of records in child tables already in the headers …
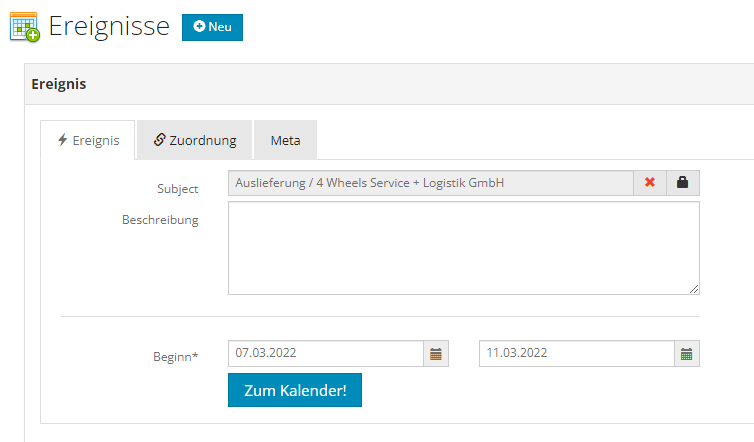
- Quickie: Fix Button-Height-Bug of Lock-Button in Detail View (DV)Perhaps you have already seen that the height of the "Lock"-button in the Detail View is smaller than the height …
- Tip: Adding your custom CSS to an AppGini projectSometimes people ask me where to put CSS rules in AppGini projects. On this page I describe the options and …
- Custom Nav-Links: Find TableGroup-index by table nameYou probably know the possibility of adding your own links to the menus. A small disadvantage is that you have …
Better Together
We are proud and pleased to announce our business partnership with BigProf Software, the developer of AppGini.
Both companies were talking about an extended, joint development of extensions and plugins for a while. We finally met at bizzworxx early November 2019 and agreed on a closer cooperation.
From now on our AppGini Helper JavaScript Library will be available together with the AppGini code generator and further plugins in the online shop of BigProf Software.


I'm really excited as these tools are going to greatly enhance our users' experience with AppGini. So stay tuned!
Ahmed Genedy, BigProf Software

Our libraries have been successfully used in AppGini projects around the world. And now we have made them available to all AppGini developers.
All Plugins and commands are easy to understand – even for non-programmers. Many of the JavaScript commands are just “one-liners”.

This year I'm celebrating 25 years of self-employment
AppGini Helper
Javascript Library
Our famous library providing dozens of easy-to-use functions for optimizing the standard user interface of AppGini views plus so much more!
AppGini Helper
Indicators Library
Our brand new library will bring much more interactivity to your application with self-refreshing indicators in your top navigation bar.
AppGini Helper
PACK Tool
Our tool will help you collecting and compressing all relevant files for installation on a remote machine. It is a one-click tool for Windows.

Spread the message,
NOT the virus
Smart AppGineers stay at home!

Click to open the AppGini Forum.
A place where AppGini users can exchange ideas and help each other
Products
JavaScript Library
AppGini Helper PHP Libraries
Inline Detail-View Plugin
Showroom
AppGini Helper PACK
AppGini Helper JavaScript Library
Highlights of latest release
Custom tabs in detail view. Read more
Collapsible panels, auto-storing and -refreshing state. Read more
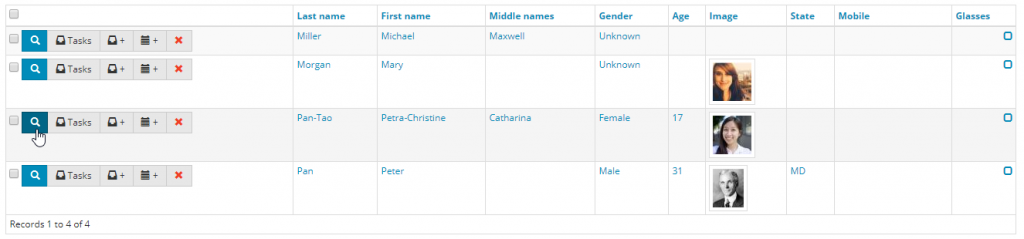
Add links to other pages or buttons executing javascript to every row of your table views:
AppGini Helper "Inline Detail-View" Plugin
Easy to install plugin which can be enabled per table. Integrates the detail view directly into the table-view underneath the selected record:
User voices
Thank you [...] I really do appreciate your products and the “voice” you have on the AppGini forum , I am learning a tremendous amount from reading your documentation on your own website and the advice you give on the forum too.
D. S.
Thank you so much for all your hard work. I have been reading the forums for the last 6 years, but only recently joined. I really appreciate you taking the time to correspond with me and share your huge knowledge with me!
C. K.
Perfect. Thanks for the quick response
B.
It worked. Huge thank you. ... Awesome you're a CHAMP.
R. N.
Thanks, BTW keep up the good job with the Appgini Helper
J. C.
Thank you for good support and fast resolution.
V. M.,
Thanks very much, you are so helpful.
K. A.
Thank you for your fast response ..
H. A.
Thank you so much.
P. F.
The order of the explanation and logical develop makes easier to understand it. congratulations
L.M.
This is a fantastic improvement. I really like it Jan. Thank you so much.
Z.
I am working my way through Appgini Helper and using the different methods to see what my app can do! Thanks Jan, it is so helpful for a beginner coder like me.
C.K.
Great!
M. Y.